phpList plugins
Your phpList can be extended, adapted and customized by the use of plugins.
You can:
- Use plugins from the phpList plugin library, which are developed by the phpList community
- Develop your own plugin, or pay a developer to build it for you
- Contribute your plugin back into the plugin library.
This chapter will show you how to install, enable/disable and delete a plugin.
In the example used, we will change the choice of editor used in our install by installing the CKEditorPlugin and disabling the fckphplist plugin.
The plugins page
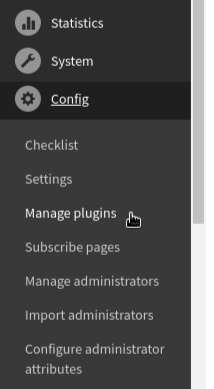
To get to the plugins page from the main menu, click Config > Manage plugins.
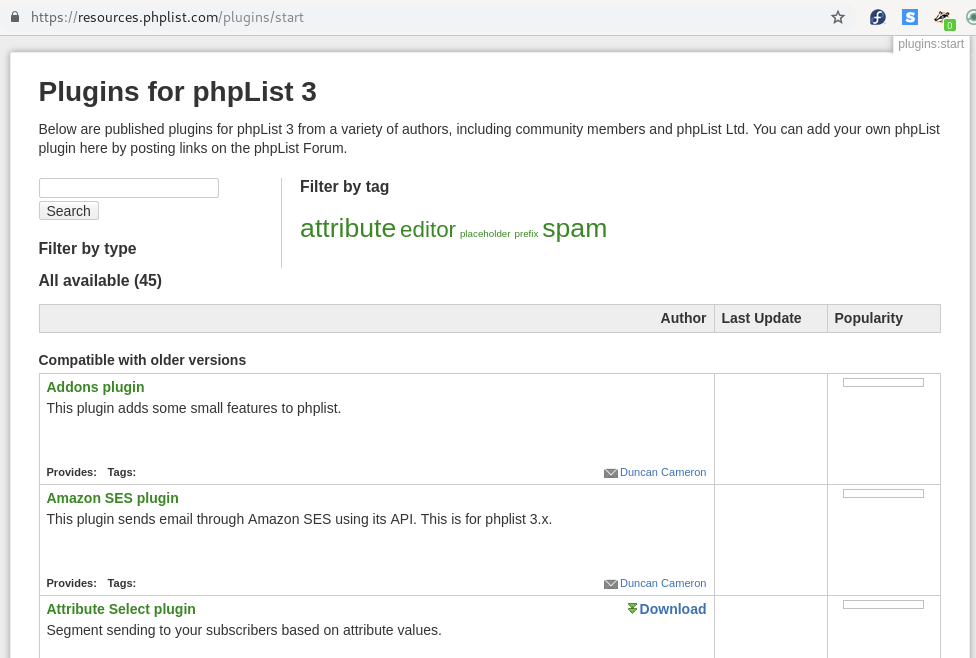
You will see a list of the plugins you currently have installed. To find a new plugin, click the Find plugins link.
The plugin library will then open in a new page. You can access the Plugin library at https://resources.phplist.com/plugins/start
Getting the plugin URL from the plugin library
Once you have clicked the Find plugins link, you will see the plugin library. Scroll down or search to find the desired plugin.
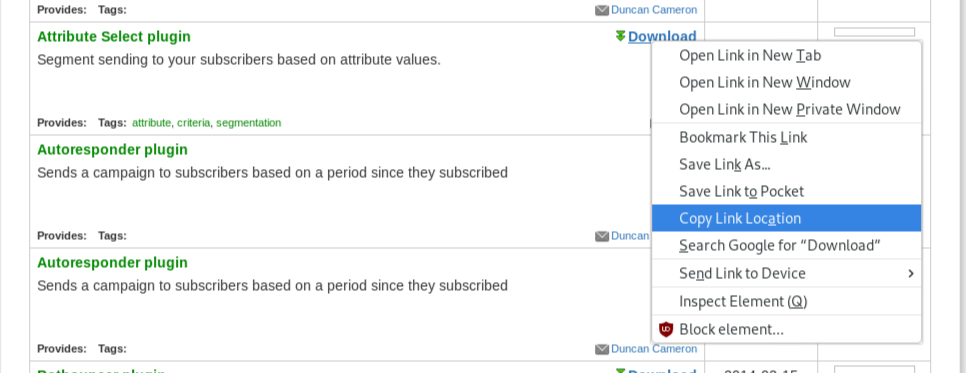
In this example, we are installing the "Attribute Select Plugin".
Right click on the Download link and choose the option to copy the URL. The wording of this option will depend on your browser: in this case it reads Copy Link Location.
Installing the plugin
Return to your phpList (it should be in the browser tab to the left of the plugin library). Paste the url into the box labelled Plugin package URL and click the Install plugin below.
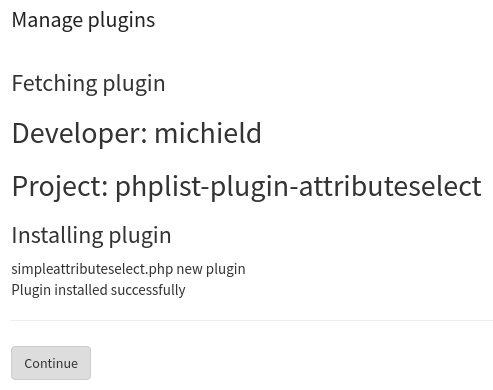
You will see the plugin install. Click Continue.
Turning plugins on and off
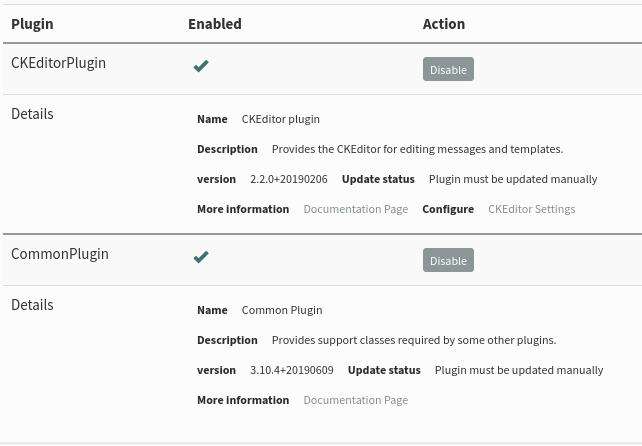
Once you are on the plugins page, either from Config > Manage plugins on the main menu, or after installing a plugin and clicking Continue, you can turn plugins on or off.
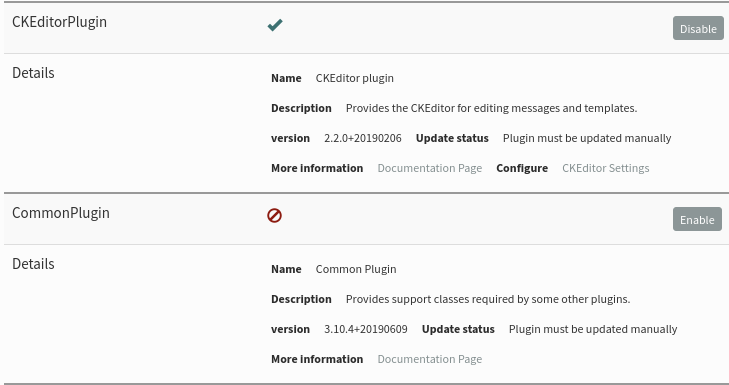
A green tick icon indicates that the plugin is enabled (on), and a red round icon indicates that the plugin is disabled (off).
To disable (turn off) a plugin, click on the "Disable" button on your right.
This will now turn red: the plugin is now disabled.
Feedback
Discuss this chapter here.

