Basic usage
- Logging In
- Adding your first subscribers
- Composing your first campaign
- Sending your first campaign
- Basic Campaign Statistics
Logging In
The first thing you do to use phpList is log in. This chapter assumes that you already have an installation and that you have a user name and password.
phpList when you are logged out
When you are not logged in, any page you visit in your phpList installation will prompt you to enter your username and password. For example, if I visit my dashboard, which usually resides at my-domain.com/lists/admin:
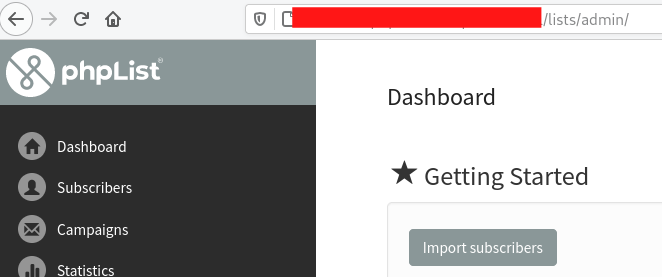
I would see my login prompt, marked below in red.
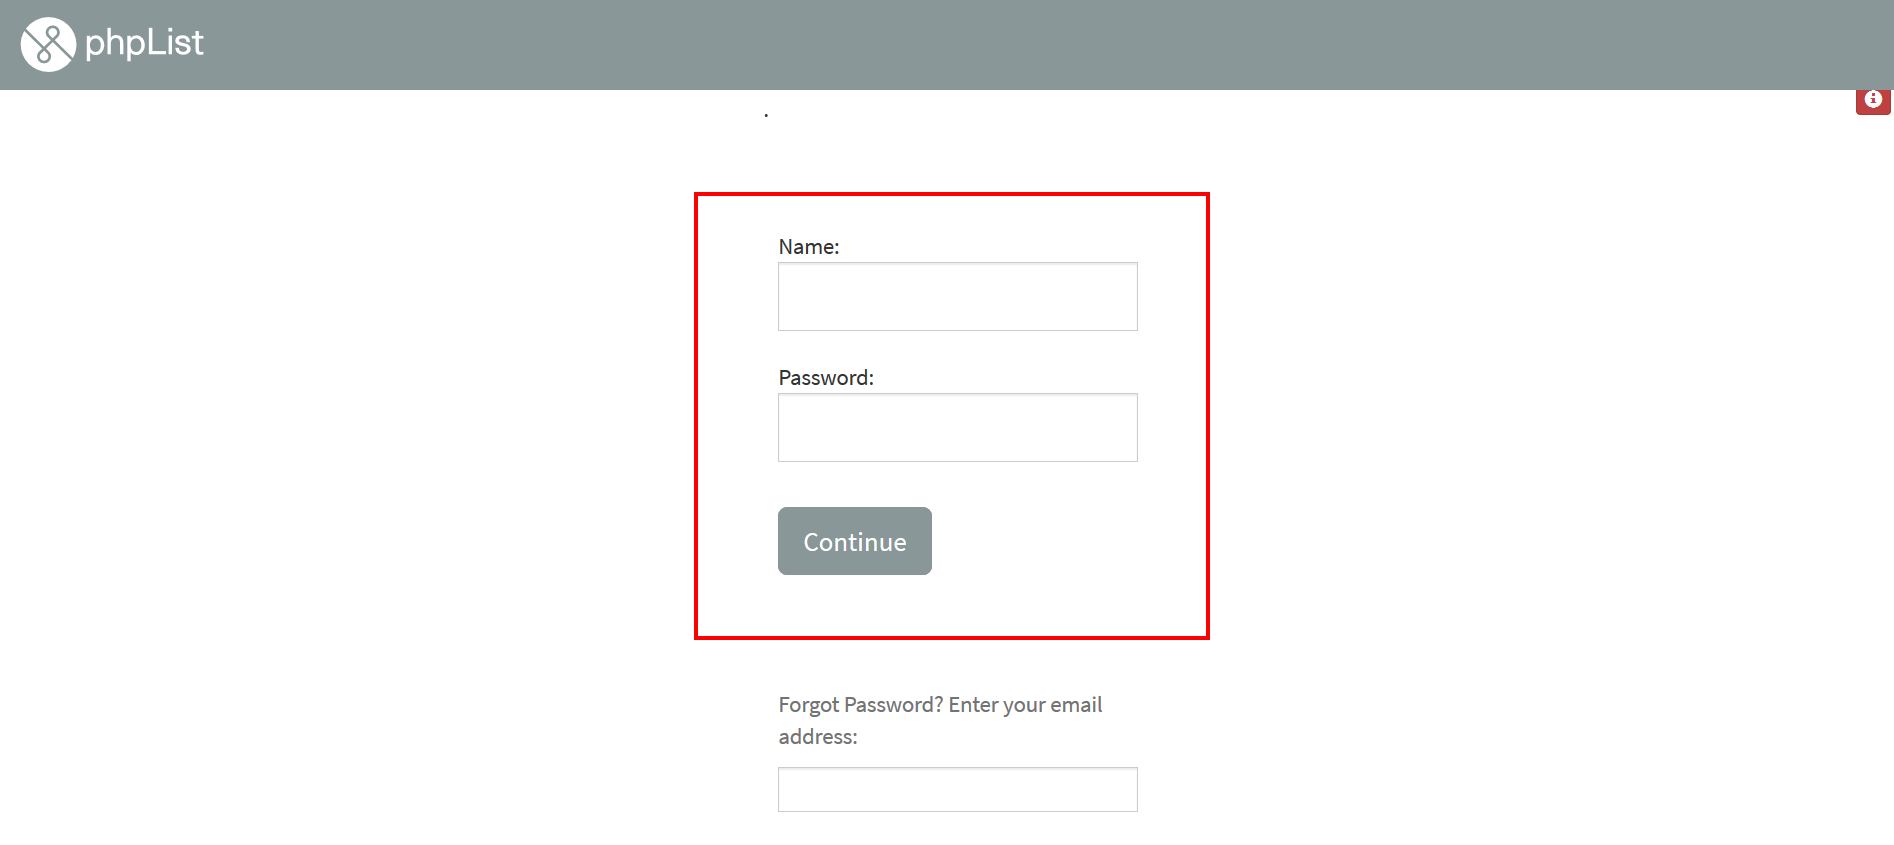
How to log in to phpList
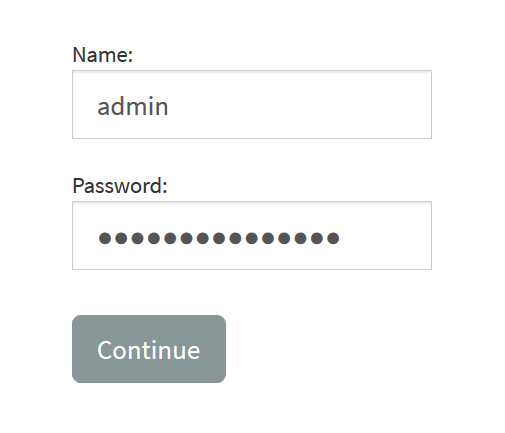
To log in, enter the username in the Name: box and password in the Password: box, then click Continue. The default username is admin, however, your system administrator may give you a more personalised login.
When you have successfully entered your username and password, you will see the page you were trying to access. In this case, the Dashboard.
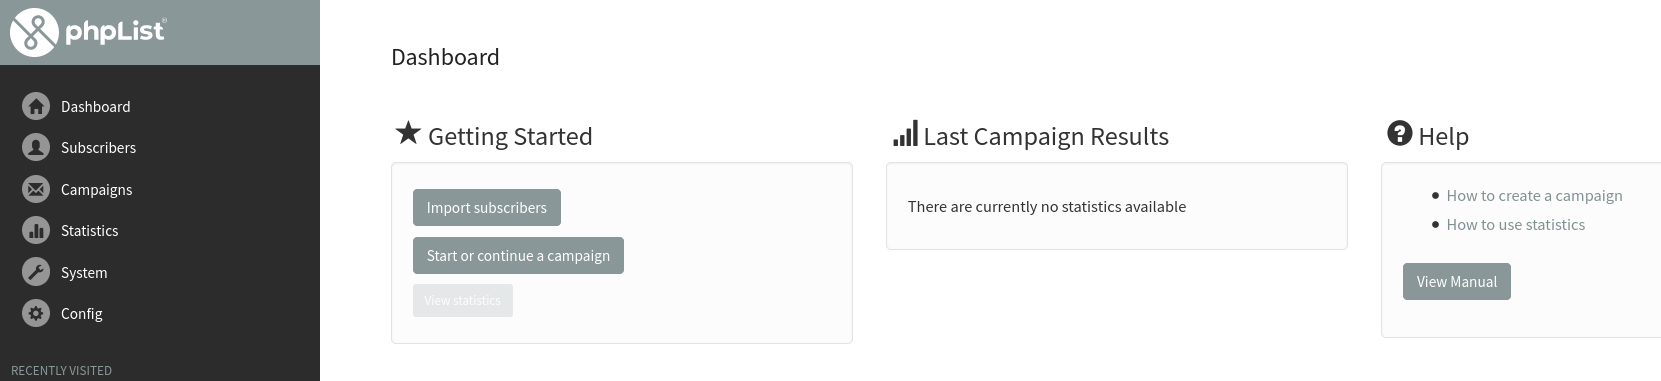
It is a good idea to bookmark your dashboard and use it as the primary way to access your phpList. Depending on your configuration, your dashboard might look a little different, for example there might be more items on your menu bar.
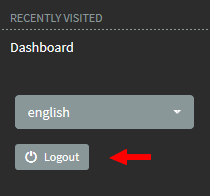
How to log out of phpList
Remember to logout when you are not using phpList: your installation contains the personal data of your subscribers and it is your responsibility to keep it secure.
Feedback
Discuss this chapter here.
Adding your first subscribers
This chapter will explain how to make a list of email recipients, called subscribers, and how to send your email campaigns.
phpList is a powerful tool: there are several ways to add subscribers and demographic information about them (name, location, interests etc).
In this chapter we are going to cover the most basic scenario.
How to get your first subscribers
The chances are, if you are planning to use phpList, you have some subscribers already. You may have a complex database of contact information, a list you exported from an application, or a simple list of emails on a sheet of paper.
In this example, we will be following the progress of Ethical Pets, who we introduced in the Case Studies chapter. They will be emailing customers of their online shop. The list of emails was obtained by exporting a list of customer emails from their shop software.
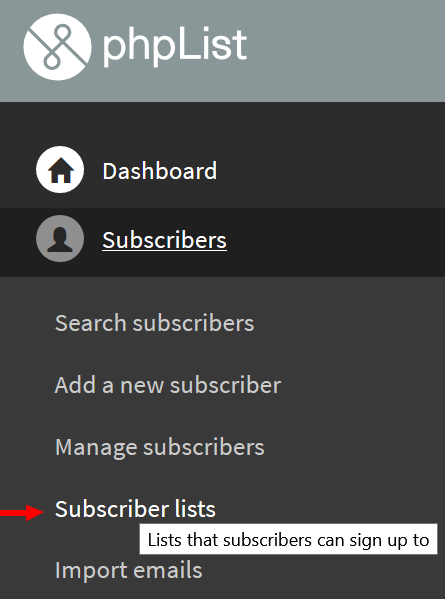
Create a list in phpList
First of all you need to create a subscriber list. This will help you organize your subscribers. In phpList, you must have at least one list, but you can have many of them. In this example, we will create just one list called The Ethical Pets Gazette, which is the name of the Ethical Pets newsletter.
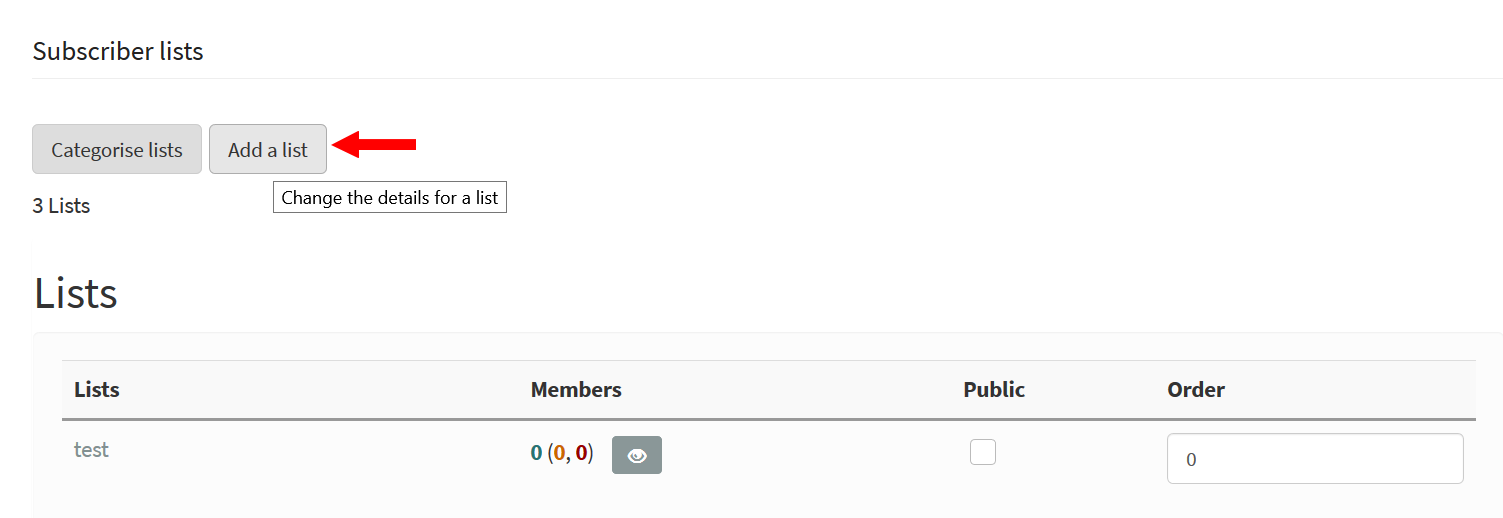
This will take you to a page which shows you all your lists. Currently you can see just one list, a system default list called test.
To create a new list click the Add a list button.
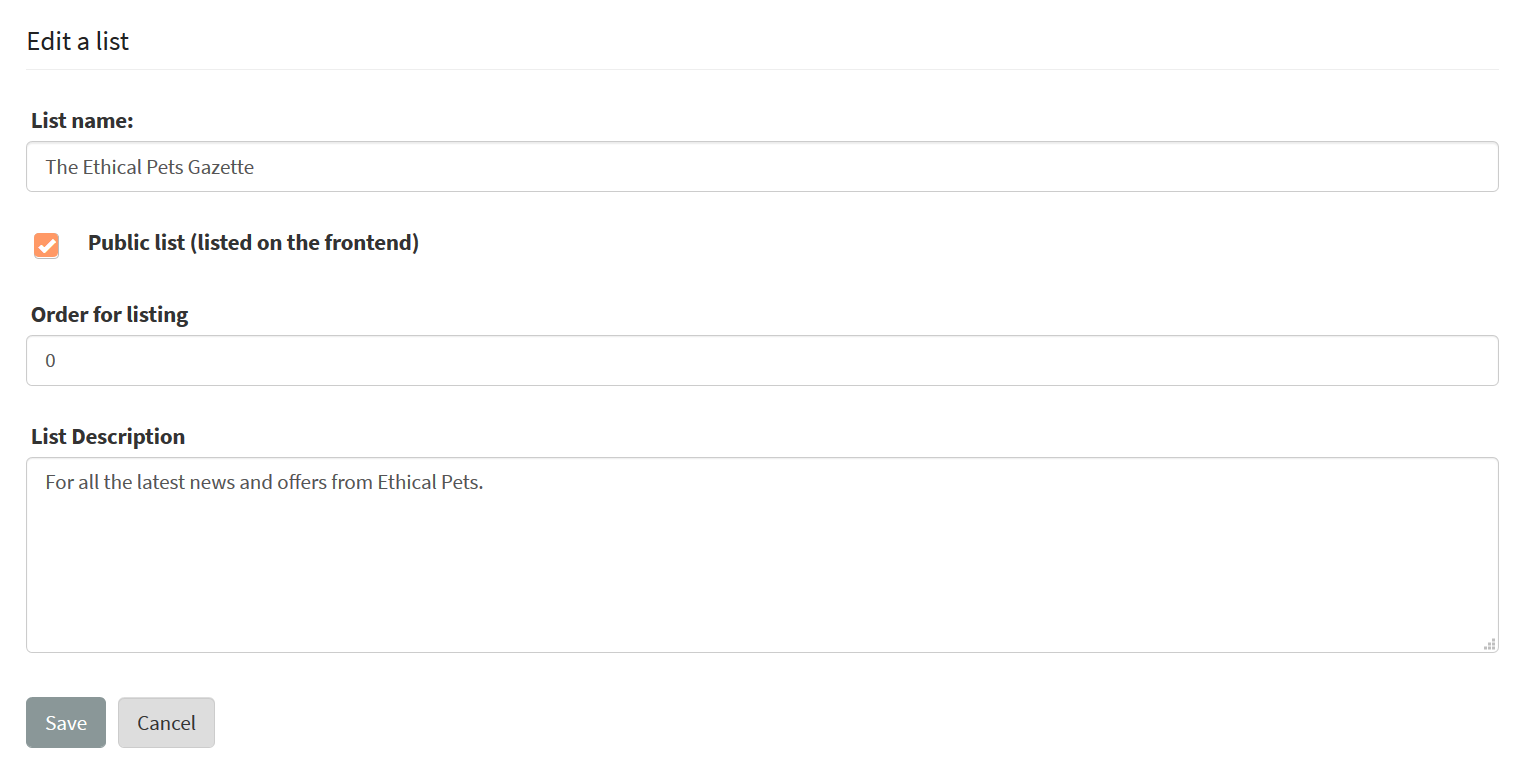
You then need to enter your List name and List description (which may be displayed publicly).
In this case, you tick the Public list box too, because we want people to know about the list.
Add Subscribers to phpList by copy and paste
Once this page is complete, click Save. You can edit this page again later if you need to. Next we click Add some subscribers
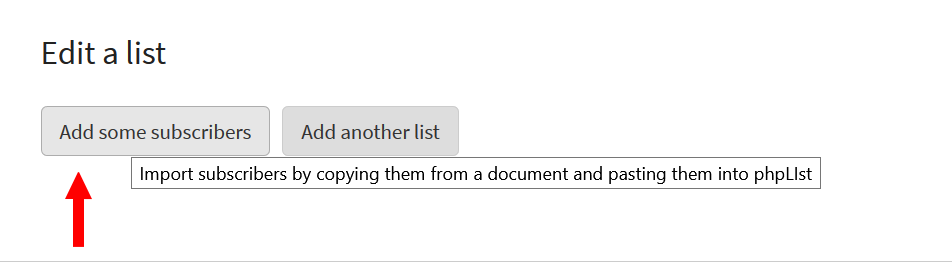
This will bring us to the Import Subscribers by Copy and Paste page.
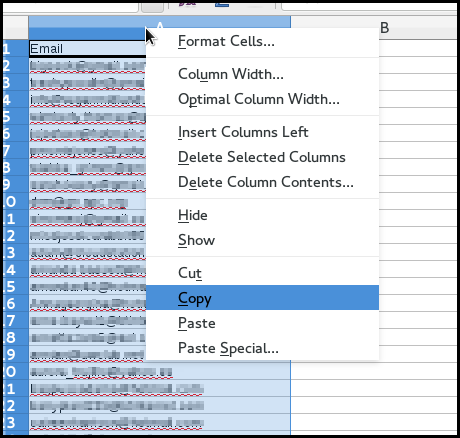
We now need to copy our list of subscribers. In this case, the list has been stored in Libreoffice Calc. Right click the column which contains the emails and click Copy.
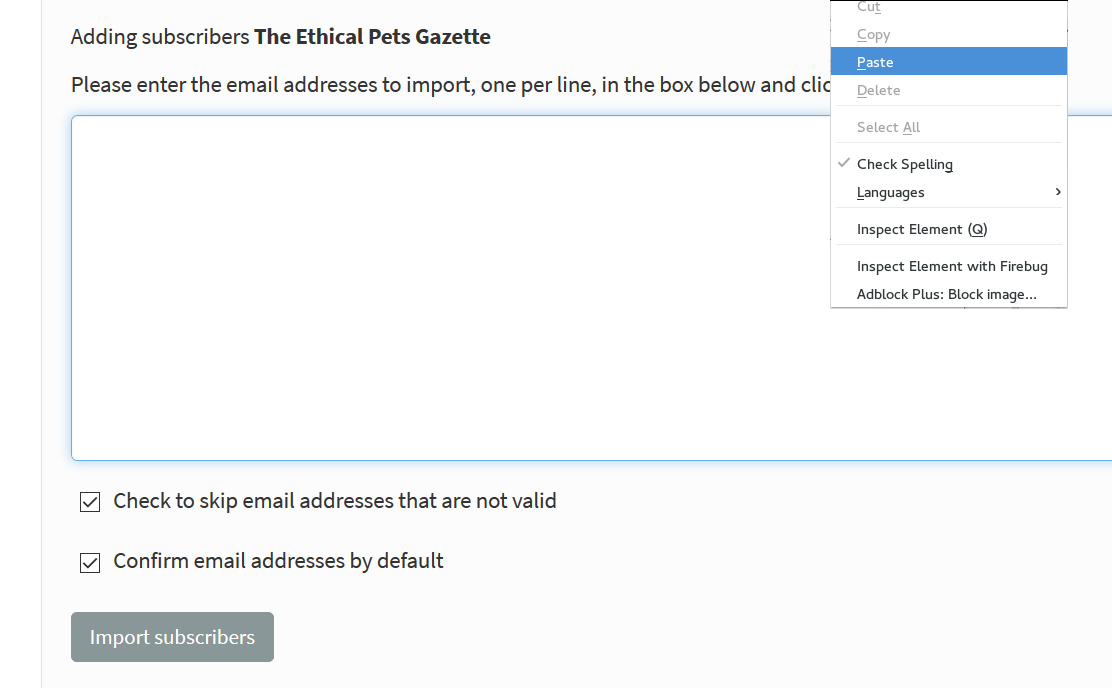
Then, returning to phpList, we right click in the input box and select Paste.
Finally, we click Import emails.
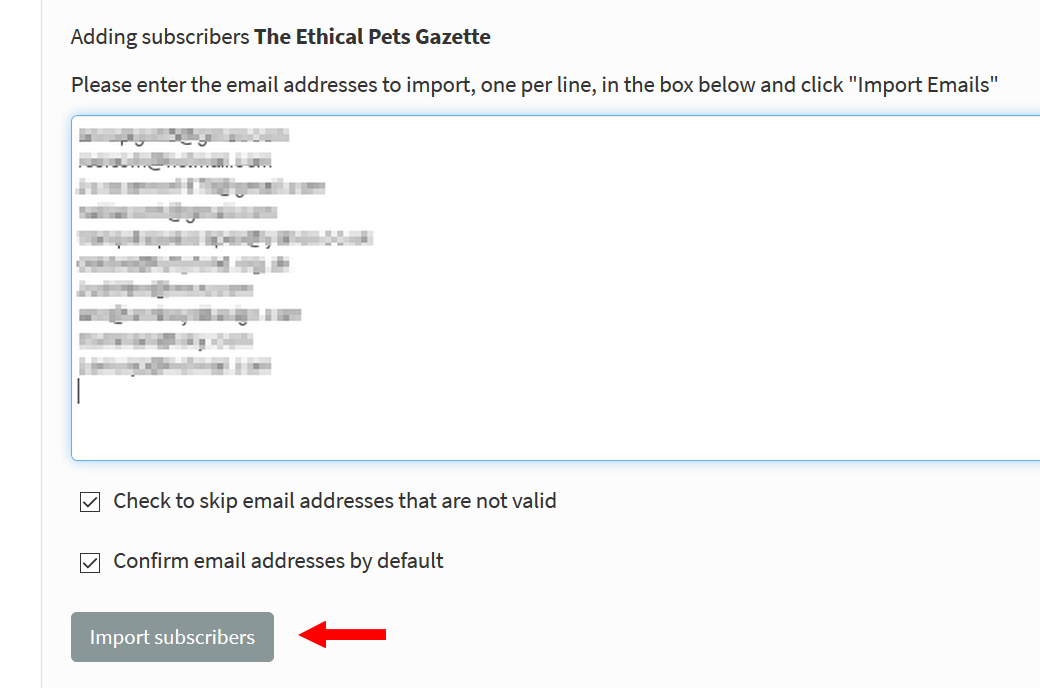
And we are informed of the results of our import.
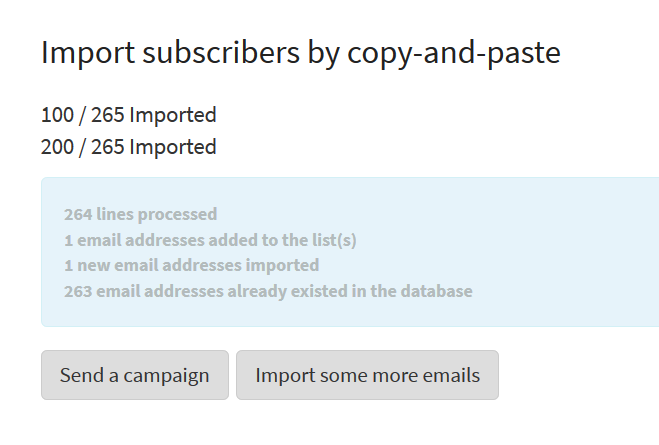
Check it out!
If we return to Subscribers > Subscriber lists in the main menu, we can see the new list and its subscribers.

Asking and assuming permission
Before you start to make lists, take some time to consider who you add. A healthy email list is full of people who want to receive your mail: they should have given you their email address voluntarily and ideally been asked for permission before you add them to the system.
There are legal requirements in some countries which reflect the importance of informed or assumed permission, for example, anti-spam laws in Canada.
Long term subscriber list health
The ideal situation is for your list members to join and leave your list as they please. You can set up Subscribe pages, so people can subscribe themselves to your lists, and the (mandatory) Unsubscribe link in your emails will allow people to leave if they want to. These are discussed in detail in other chapters.
While you may be keen to spread your message as far and wide as possible, always bear in mind that excessive, aggressive and intrusive emails can tarnish your brand. Don't become a spammer!
Feedback
Discuss this chapter here.
Composing your first campaign
In this chapter we will talk through composing and sending a very basic email campaign, which contains a simple piece of news and a single image.
The example follows on from the previous chapter, using Ethical Pets. In this scenario a "short dated" cat food needs to sell quickly. They decide to email all their customers to tell them about the special offer.
Getting Started
To start a new campaign in phpList, navigate to Campaigns > Send a campaign from the main menu.
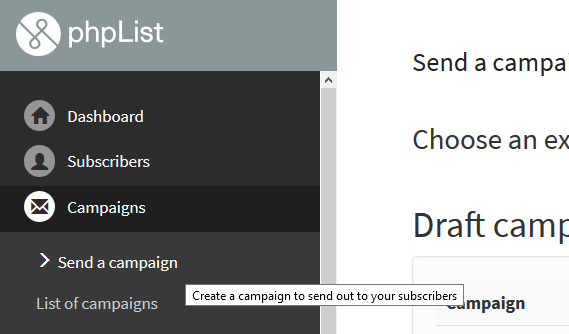
This will open up a five-tab dialogue which will guide you through the build-and-send process. Please note that various settings and plugins add more tabs.
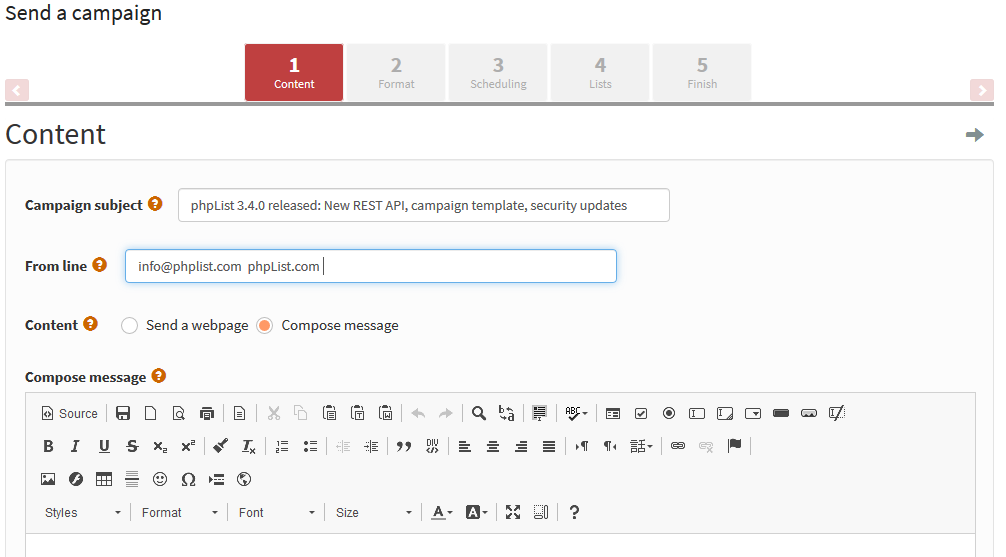
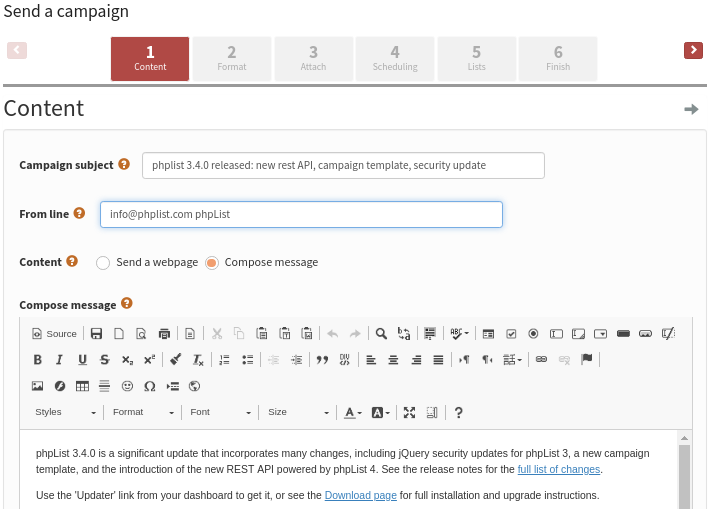
Message composition of the campaign is done in the first tab - the Content tab.
The Content Tab
There are three tasks to complete in this tab. You must write your subject, edit the From line and create your message in the compose message window.
Subject line
The subject of the email is the first thing that your subscribers will see, so it's very important. Make sure that your subject line:
- Is honest about the content of the email
- Avoids spammy sounding words or phases (Free, hot, opportunity, risk free, etc)
- Is less than 50 characters long if possible
- Is eye-catching and appealing
- Is easy to understand, with a clear meaning or appealing hint
- Contains a "call to action" if possible/appropriate (so Read, Buy, Sign, Donate)
Sometimes you will have to compromise, prioritizing some of these points above others.
Here is what Ethical Pets said about this subject line:
"The most urgent goal was to sell the food, so the subject needed to be eye-catching. 50% off is pretty eye-catching, however, we know that it could get flagged as spammy by filters, so the wording was a little risky. We also needed to be super clear that the food was short-dated.
To both things to make this possible within the 50 characters we had to shorten the super clear "Best Before Date: 20th of August" to the more concise" (BB: 20/8/14). This would make sure that the best before date would be visible in the subject line.
We also decided that the tactile and soothing "Puuuur" sound in the little joke at the beginning was worth sacrificing a direct call to action such as "Buy Organic Cat Food, 50% off", especially as using "buy" and "50% off" in the same subject line would make it even more likely that the mail would get flagged as spam.".
The From Line
The second step is to edit the From line - your subscribers will also see this information. In phpList this information is usually auto-filled from settings in your system configuration, and is formatted Name [space] email. In this case the automatic information was originally: admin info@ethical-pets.co.uk.
Ethical Pets changed it to "Admin" to "The Ethical Pets Humans". They said
"Admin seemed a little unfriendly for the purposes of this email, so we changed the name to something more fun, and it really fitted into our campaign. However, the email remains the same. We usually just write Ethical Pets though. We always use our real email, because sometimes we get replies from customers too, which is great."

Ethical Pets allowed replies to their email, however, you may wish to use a "do-not-reply@example.com" style email: this depends on the number of replies you tend to get, what they are about, and the purpose of the email.
For detailed information about formatting the From line click in the i information button next to it.
The Content
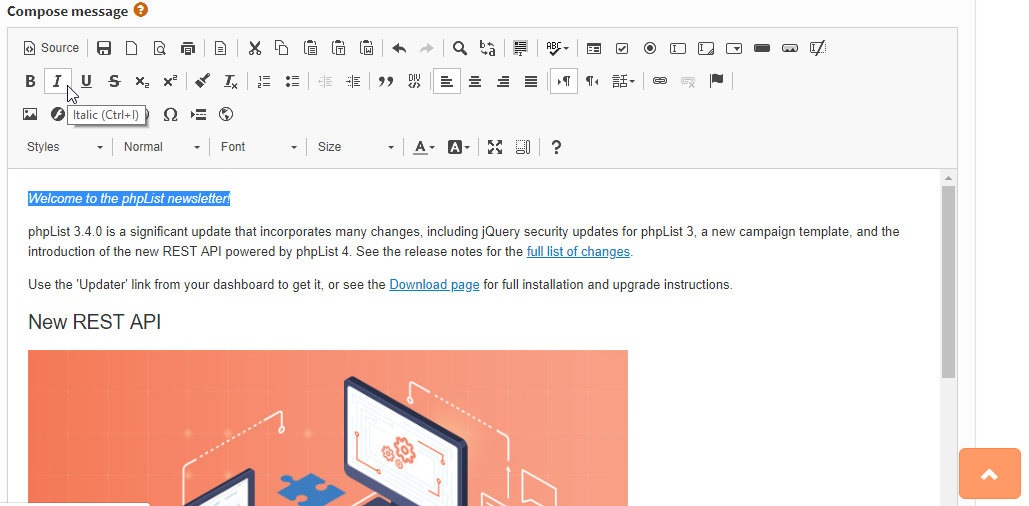
The next step is to compose your message. In this example, we will compose the message directly in the phpList Content window.
Assuming you have your What-You-See-Is-What-You-Get (WYSIYWG) composer plugin installed and enabled (usually FCKEditor) you will be able to edit in a way that is similar to a Word-Processor or a blog site. In the example below, we have composed our text, and are using the Italic button to draw attention to some text.
Adding an Image
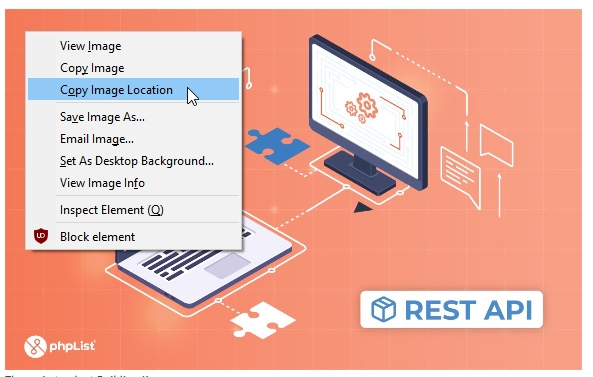
The simplest way to add an image to your campaign is to embed one from your website, or from an external source such as Wikimedia Commons. To do this you need to find the URL of the image from your site.
Depending on your browser, this may be done by right-clicking on the image and clicking Copy Image Location or similar (in Internet Explorer it may be under right click Properties).
Then, in your phpList window click the Insert/Edit Image button in the WYSIWYG toolbar.
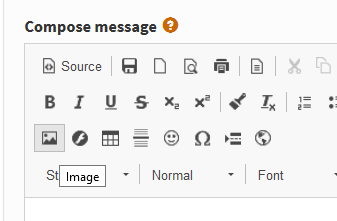
You will then see the Image Properties dialogue.
Paste the image url into the URL box (highlighted in red below) by using control-v or right click Paste. You should see the image in the Preview box below. If there is an error, the most likely culprit is the URL.
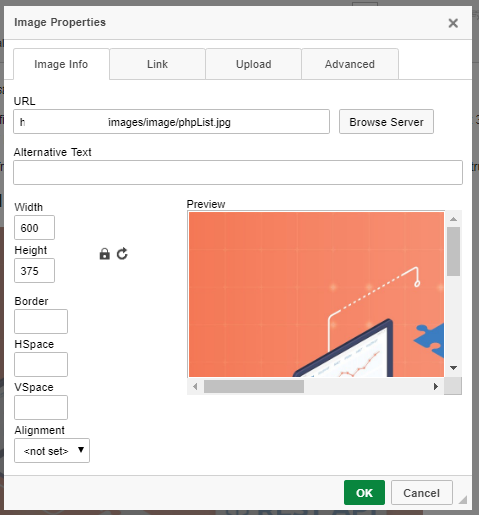
Image formatting and metadata
You should include an Alternative Text for the image. This will show in place of the image when the image is suppressed by the recipients email software, which is quite common. A good alternative text helps encourage your reader to decide to view the images in the email: this in turn makes your Campaign Statistics more accurate.
You may also wish to change the display size of the image: Ethical Pets chose a Width of 200, and the height was adjusted automatically because the Lock Ratio padlock is locked). You can also chose to Align the image, in this case they chose Right, to make it display on the right hand side of the email. They also gave it an HSpace and VSpace of 5, which added 5px (just a little bit) of space between the email text and the image.
Once you are done, click OK.

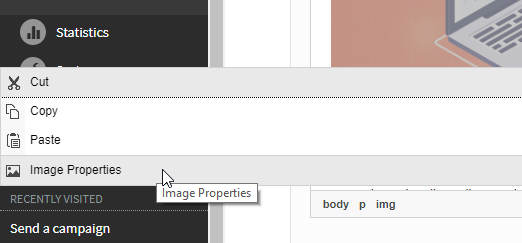
You will now see the image displayed in your email. If you wish to edit it again, right click the image and click Image Properties.
Creating a Text Link
Now a link to the store was needed, to show subscribers where to buy the food. To create a link, first highlight (with your cursor) the bit of text that you want to become a link:
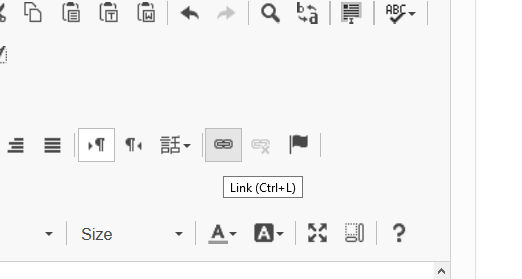
Next you click the Inset/Edit Link button
Finally, you paste the URL of the page you wish to link to into the URL box, and press okay.
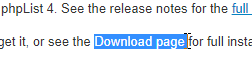
When your subscribers receive your mail they will see the link, as below, and will be able to click the text to go directly to your website. In your campaign statistics you will see how many clicks you had.
Note that links which use the URL which they point to as the link anchor text will not be tracked by phpList. This is because link-tracking requires automatic link rewriting, but doing so would result in a link which would trigger spam filtering systems. Therefore links like this will not be tracked on statistics pages http://my-website.com.
Once you have finished composing your message, you are ready to move onto sending your campaign.
Test your campaign
It is easy to skip this step because sending the mail is so exciting, but it is really important to check... and after all, it only takes a few minutes.
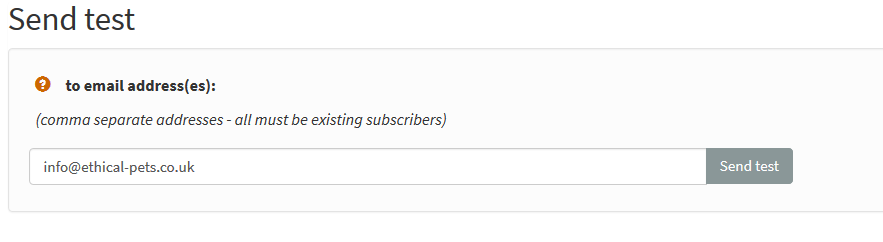
To send a test you need to enter your email into the Send text box at the bottom of every screen in the campaign workflow. You can send multiple test emails by separating the addresses with a comma - it is a good idea to test in both Webmail (like googlemail) and a client (like Thunderbird).
All the emails you send a test to must already be on one of your lists: if they are not, you will be prompted to add them.
Once you have entered the email, click Send test.
Check that the
- formatting is displaying as expected
- your links go to the right places
- you have not made any spelling errors.
If you find a mistake, edit your campaign and test again. Once happy with your text part of your Campaign, click on the Next button.
Feedback
Discuss this chapter here.
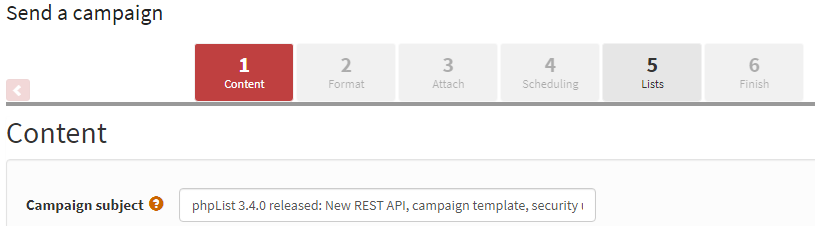
Sending your first campaign
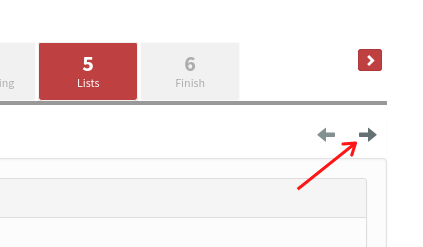
Once you have composed your HTML message, you are ready to move though the tabs (highlighted in red below) which will guide you through the process of sending your first mail.
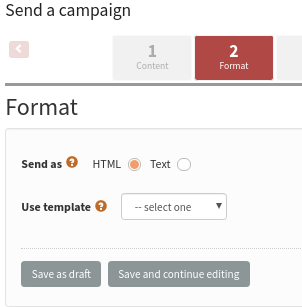
Format
If you have a template set up already then the Format gives you the opportunity to choose it by selecting it from the Use template drop down. Your HTML message will then be wrapped in the template during the sending phase.
You can send a test message using the Send test box at the bottom of the page, to see what your email will look like.
Click next when you have selected your template. If you do not yet have a template, leave the -- select one in the dropdown and click next.
Schedule your campaign
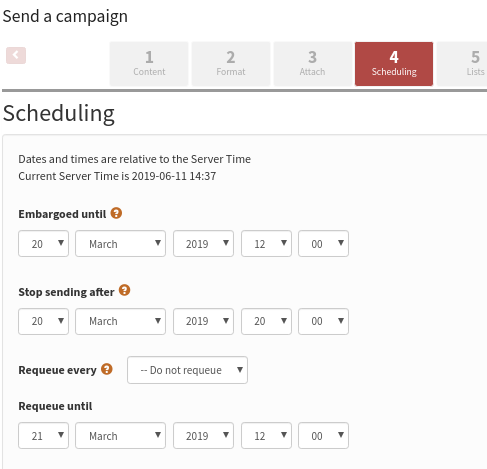
After your tests you need to schedule your campaign should now be on tab 3: Scheduling. Remember, some plugins and settings add extra tabs, so the tab number may change (but the name should stay the same).
In this case we want to send the mail straight away, so the Embargoed until time needs to be left as the default, which is slightly in the past.
Additionally, because this campaign is not time sensitive, for example there is no deadline for the special offer, we can leave the Stop sending after time and date as the default too (far in the future).
When you have finished entering the scheduling information, click next.
Select your lists
One of the final stages in the campaign workflow is to choose the list(s). In this case there is only one list to choose from, which is T. The options for All Lists and All Active Lists are also useful; the former sends to every list, public or private, and the latter sends to all public lists.
Remember that phpList will only send each subscriber one copy of each campaign, even if they are on several lists: you don't need to worry about sending people duplicate copies.
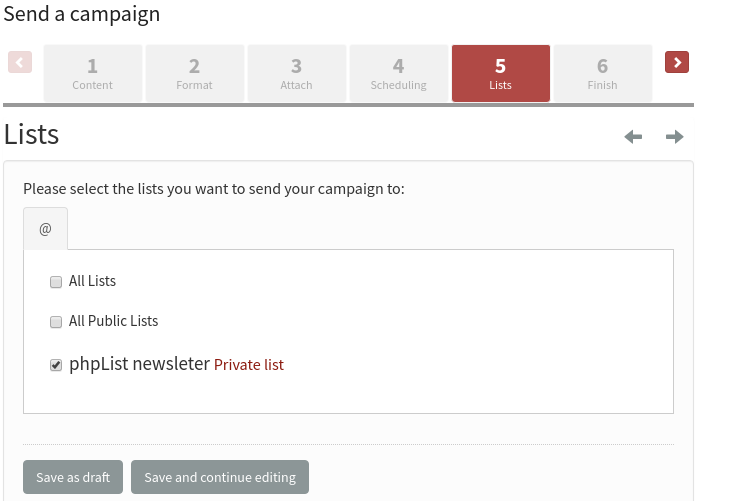
Once you have chosen your lists click Next
Sending your campaign
Sending in phpList is a powerful tool with many possible configurations. It is possible that your system administrator will give you different instructions for sending or will send on your behalf.
The final tab in the sequence contains a few useful details and the button which triggers sending.
First you can choose some emails that you wish to alert when your campaign starts sending and finishes sending. This can help you stay organized.
You can also choose to Reset click statistics - this means that any clicks or opens recorded when you were testing your campaign will be forgotten, so when you get new clicks and opens you know they are from your subscribers.
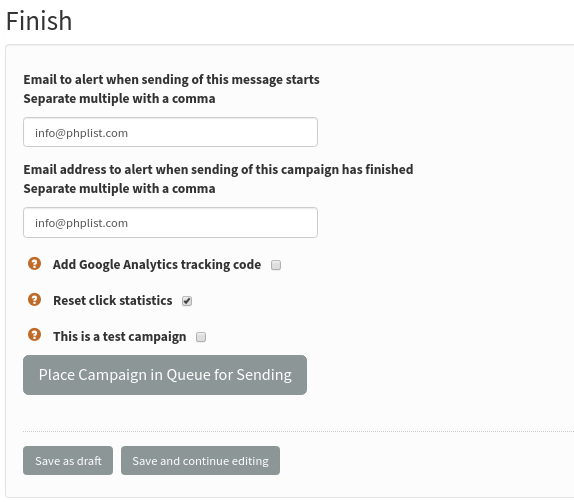
When you are ready to send, click send campaign.
Process your queue
Clicking send will add your campaign to your queue. There may be only one campaign in the queue, or there may be several. Click process queue to send the campaign now.
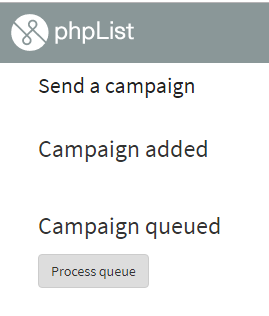
You will see the queue start to process, with a spinning phpList logo.
Next you will see something like the image below, depending on how your system is configured.
Do not close your browser window until the process is complete, unless your system administrator tells you otherwise.
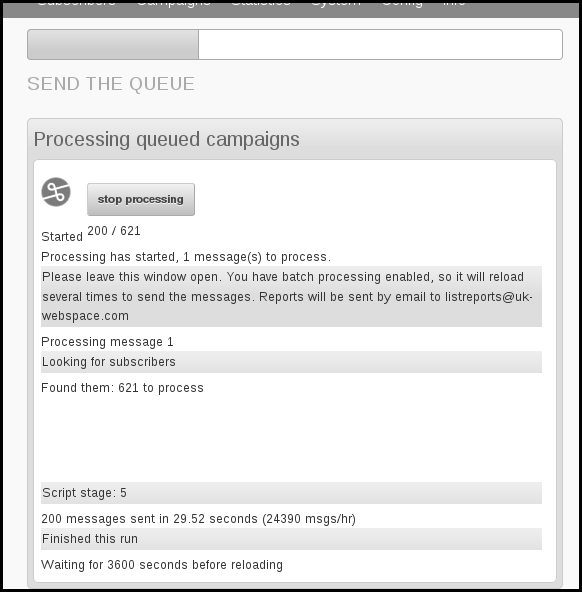
All done?
When your queue has finished processing you should see the following screen:
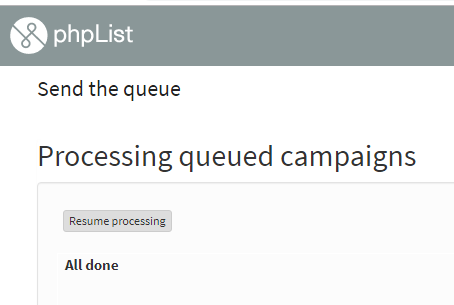
Depending on your configuration and list size, you may need to refresh the screen and click resume processing a few times until the process is complete.
Feedback
Discuss this chapter here.
Basic Campaign Statistics
Now that you have sent your first campaign, it's time to take a look at your campaign statistics. In this chapter we will look at Sent, Rate Bounces, Forwards and Views, the four most fundamental campaign statistics.
The statistics overview page
First, go to Statistics > Statistics overview.
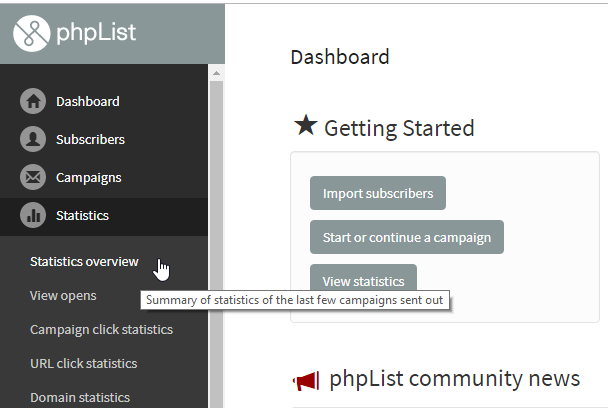
This will show you a summary of all the campaigns you sent in the past year (in this case, we have just sent one).
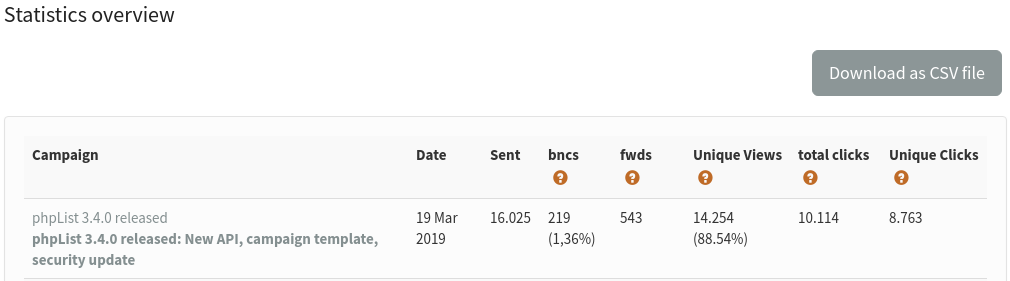
Sent
In this example, we sent our campaign to 16.025 subscribers and this is reflected in the Sent column. It is useful to see how many subscribers you have for each campaign, so you can see your list grow over the year.
Bounces
The second column BNCS shows the number of emails that "bounced." A bounced email is one that cannot reach its intended recipient. This could be caused by any number of things, for example:
- The email is incorrect, does not exist or has an error such an expired domain
- The Mailbox is full (this may be temporarily or not)
- A badly configured auto-responder (automated "I'm on Holiday till" of "I got your message and will reply soon" type mails)
The exact definition of a bounce depends on your phpList configuration, and it can take several days for a bounce to be registered on the system. An email which continues to bounce will eventually be either unconfirmed or added to a do-not-send list.
A high bounce rate may be a sign of poor list quality.
In this campaign, there were 219 bounces.
Forwards
The third column fwds show the number of people who have forwarded the mail through the phpList ForwardToFriend system. This is dealt with in Advanced Statistics.
Unique Views
This is the most exciting of your statistics, but also the most misleading.
In this case, our email was "viewed" by 14,254 of the 16,025 recipients, which gives us an open RATE of 88.54%. However, it is important to understand the limitations of this statistic, so you don't become frustrated or disillusioned by what may seem like low readership levels.
The Unique views statistic:
- Tells us how many people were recorded opening their email (and presumably read the contents)
- Tells us the minimum number of people who opened the email
- And gives us a rate that reflects the number of people opening an email compared to other emails we send.
- Does not tell us exactly how many people opened the mail, or what they did when they opened it.
Total clicks
If you have included links on your campaign, phpList can tell you how many times your subscribers have clicked on them. This number indicates the total amount of times a link has been clicked, whether it is from the same subscriber or not. Also, this is the total amount of times all your links were clicked, not each one separately. This will help you evaluate further your campaign’s performance.
Unique clicks
The “Unique clicks” value is always less than the “Total clicks” value because it represents the number of times each link on your campaign was clicked for the very first time. For example, if you have included two links on your campaign and a subscriber has clicked 3 times on each link, this will show up as “2” and not “6”.
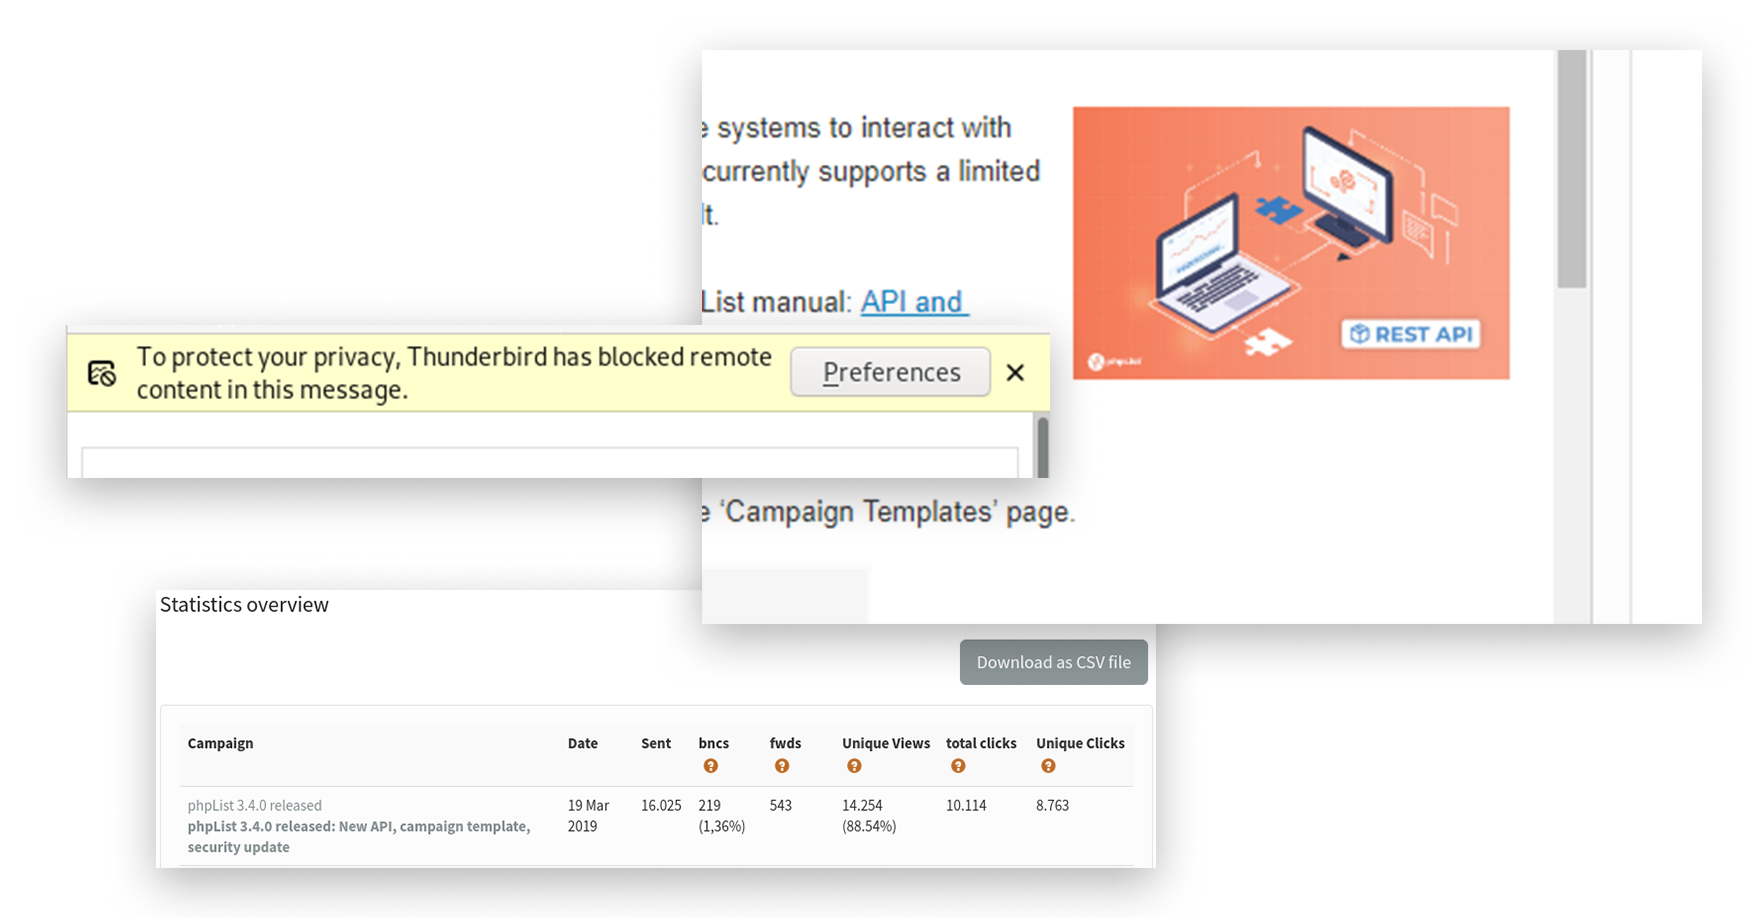
Accuracy of email open tracking
The major cause of inaccuracy when recording views is image blocking. If images/remote content are blocked by a subscriber's email software, then the action of your subscriber opening the email cannot be reported back to phpList (or to any system). Image blocking is therefore quite commonly used as a privacy feature by email and webmail clients.

Only when your subscriber clicks, for example Show Remote Content, is the view recorded in your campaign statistics.
Still a useful statistic
This inaccuracy is the same for everyone, no matter which software they are using to send their campaign; any "open rate" averages you see discussed on-line or in books are subject to the same rules.
It is difficult to estimate how much higher your real readership is, additionally the inaccuracy rate will vary from campaign to campaign. If we bear this in mind, we can still make some comparisons, for example, "have I received more views over several campaigns" and "how do I compare to the industry average"
What's the difference?
The difference between the real open rate and the statistic may be very significant: in this case, a quick study found that only 1 in 3 of the customers who bought the cat food in the hours after the email was sent showed up in the open results, and the cat food offer was only advertised by email. In this case, the real open rate could be more like 80%.
Rate
To compare performance across several campaigns you can use the RATE statistic, which is the number of opens expressed as a percentage of the total sent. In this first campaign, we had an open rate of 25%.
Over time, as our list keeps growing, we can still compare back to see if we are keeping our subscribers interested. The rate statistic can also be used to:
- a/b test email titles and sending times
- to compare readership between lists
- and even to benchmark performance against industry averages.
Summary
This Statistics Overview page is useful for comparing and contrasting the successful campaigns. This can help you to improve your future campaigns. However, the statistics should not be taken too literally.
Feedback
You can discuss this chapter here.